By Mary Lowther
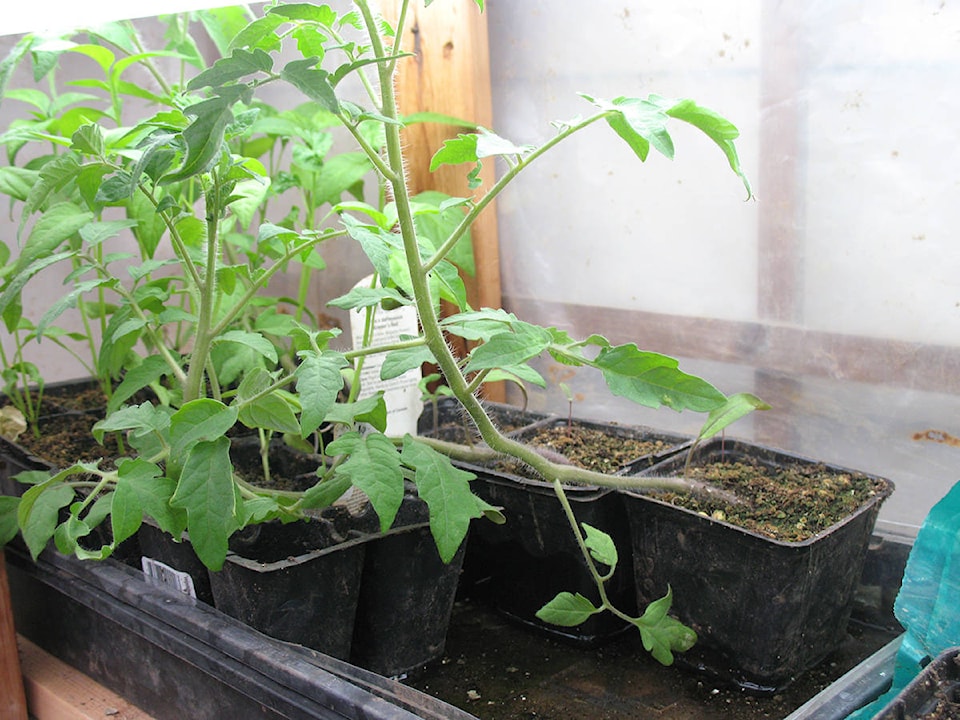
Like eating a taco, our growing season in the Upper Cowichan Valley is all too short but hot, and requires some thought if we want to harvest a variety or vegetables. Long cool winters foster hordes of slugs and wood bugs that gorge on everything until our dry, hot summer hits, so I start many spring crops inside in flats, transplanting them into larger pots until it’s dry enough to plant them outside. Tropical and semi-tropical plants like tomatoes, squash and peppers require more hot days than we get, so an early start in warm flats allows us to extend the season and grow these southern crops. Some clever gardeners have figured out how to grow sweet potatoes and ginger hereabouts, but I haven’t gotten that proficient.
I sow root crops directly in the soil and keep my fingers crossed that slugs et al don’t eat too much of the crop. Since I created a plant-free barrier around the perimeter, I don’t see as much predation as before. Once hot, dry weather hits, I start sowing other seeds in the ground, like herbs, flowers and some fall and overwintering crops. It’s nice to have a bit of a breather from tending a lot of flats inside once the novelty wears off.
I follow the schedule I set up for my garden and sow accordingly. I’ve found that I can begin sowing inside about two weeks earlier than recommended for Vancouver. My agenda book tells me the dates to sow what, where, and I’ve put all the seeds into various containers labeled with the dates to be sown.
Thus, I just look in my agenda book for the reminder to sow whatever, grab the container with that date marked on it and then get to work. I’ve tried several methods for starting indoors and although my favourite remains starting in plastic cells that sit in flats, they deteriorate so I revert to my second favourite method: soil blocking.
Soil blocking works well enough that I prefer it over other methods, even though it tends to crumble apart. Watering from a spray bottle rather than a watering can helps, and once the seeds start rooting, gentle additions of water from below prevent too much crumbling, although the soil does spread.
Because I’m frugal (not cheap) I only bought the medium size of the soil blockers and it works well enough. When roots start showing out the bottom of the cell or the soil block, it’s time to transplant outside if conditions permit, or into larger pots.
I also learned the hard way that cabbage moths lays eggs on seedlings in flats, so after a couple of years of wondering where all those green caterpillars came from, I finally noticed a white moth that was highly interested in my plants in late February. My early attempts to keep them out by covering each flat with Reemay worked but was cumbersome, so I just enclosed my whole seed table with plastic except for a front area that has a mesh curtain to keep moths et al out.
Now I need to figure out how to make a mesh enclosure for outside shelves when I harden off transplants. It’s a good thing I’m living so long that there’s always time for improvements. So far.
Here’s a recipe for potting soil using soil blockers:
5 litres coconut coir
1 ½ t. lime
4 litres coarse sand or perlite
½ cup fertilizer
1/3 litre soil
3 1/3 litres compost
Mix together well.
Please contact mary_lowther@yahoo.ca with questions and suggestions since I need all the help I can get.